Monday, February 28, 2011

Faerie's from Graphic 45 Once Upon a Springtime Stamps and Papers

I went to an all night crop on Saturday night at my friend Leslie's scrapbook store called Whole Lotta Scrap in Norman, OK. I think a lot of people complained that they never had time enough on crop nights so Leslie ran the crop 10am Saturday till 7am on Sunday. I don't think they will complain again for a while. I didn't go the whole time cause 21 hours was just too much of a good thing for me. I went in about 5pm and left about 7am. I turned down a stop for breakfast and went to bed instead.

After chit chatting for the first hour or so I turned to being creative and started making cards. The first thing I finished was the ATC's for a swap on a group I belong to. I cased an image of a full size tag of Tim Holtz using this stamp set and cut it down to fit the 2.5x3.5 card I was going to make. I won these stamps in a drawing on the same group so thought it was fitting to use them for the swap. Unfortunately you can't get the full effect cause the camera just wouldn't cooperate with me in photographing the shiny mirror card stock I used to make the plane. I just stamped the image on with Stazon Black in and cut it out. Believe it or not there are 7 colors of ink on this card! Distress ink black soot, Chipped Sapphire, Broken China, Tea Dye, Straw, Walnut Stain and the Stazon! Fun!! I made 11 of these beauties...9 for the swap, 1 to keep and one to give to the whining friend that sat on my right at the crop. Rhonda is a good friend and I am so mean to her!!

The second group of cards I made were made using the Once Upon a Springtime papers and stamps from Graphic 45. All the card blanks and mats were made using Stampin Up! card stock and the images stamped on Stampin Up! Whisper White card stock. I love the crispness of them image on the whisper white that I have not seen with any other card stock. I think that the cards look a little dark here but the paper tends to lend it self to looking dark cause they have a more dusky color scheme than the traditional bright springy colors. I like it. It calls to my soul!

This first card is the brightest and most girlie to me. I love the vintage cotton crocheted ribbon lace and the mulberry roses. I Stickled the wings(not that you can tell!) and used some Liquid Pearls on the flower bouquet.


The Queen of the Faeries was fun to make. I was pleased that they had the paper in the 8x8 paper pad and the image was smaller then in the 12x12 pad. I used Flower Soft to frame around the Queen. Her crown and wing dots are Liquid Pearls, cantaloupe color. I used Distress Stickles on the wings. I made two of this card.


This faerie is definitely darker. I also made two of this card. I colored her a lot of times but the way the stamp inks up it is just a lot of black or whatever other color ink you use. I tried just inking the stamp but that didn't work for me either. Maybe by the time I got to this image it was getting late! I have seen it inked on some of the blogs I visit that makes it look awesome but...I'll settle for this one. Rock candy Distress Stickles are used on the image.

I may try to revisit these images and try a different coloring technique here at home. I really like the images and the papers. They are lots of fun.

Sunday, February 27, 2011

More blog candy!


I was surfing around the WOYWW bloggers today and found another tempting treat I couldn't pass by. Go visit Sunflowers & Dragonflies to see what you have to do to enter. I have added a blinking thing to my side bar that will take to straight to Beth's site. Drawing is March 12, 2011

Webster Pages Wall Hanging

I had a lot of fun getting together a class for WLS for the next weekend. I love the new Webster Pages papers in the Petite Papers Pad called Country Estate! There are three different papers collections in the 6x6 pack that came out so I decided to make a wall hanging using the Country Estate because of the large beautiful roses. I thought that I could use it to display pictures or put a memo pad, sticky notes, pen holder etc on the cards and use it as a desk jockey beside my desk. Most likely it will hold pictures though!

This first picture is an upclose photo of the header on the wall hanging. I am fascinated with the different flowers being used by the different bloggers on the internet. Last September I went to a meeting where they presented a program on coffee filter flowers and I have been wanting to make a wall hanging using the technique. Viola! All the flowers on this header are made using coffee filters that I spritzed with color and after they were dry used a brad to secure the individual flowers. Nice I think!


I thought that I would do some upclose pictures before showing the finished work to show what a little glitz and glitter can do to a paper. This first picture is of a bird that was not enhanced. I love the paper and the pattern but I thought that the bird was depressingly dull.


This second picture is after I used Perfect Pearls on some of the roses and Stickles on some other flowers and the leaves. The bird was glittered then Glossy Accents was applied over that after it dried. Really makes the picture pop now!


In this picture the birds were glittered and Glossy Accents applied. I used Flower Soft and Stickles on the flowers and leaves.

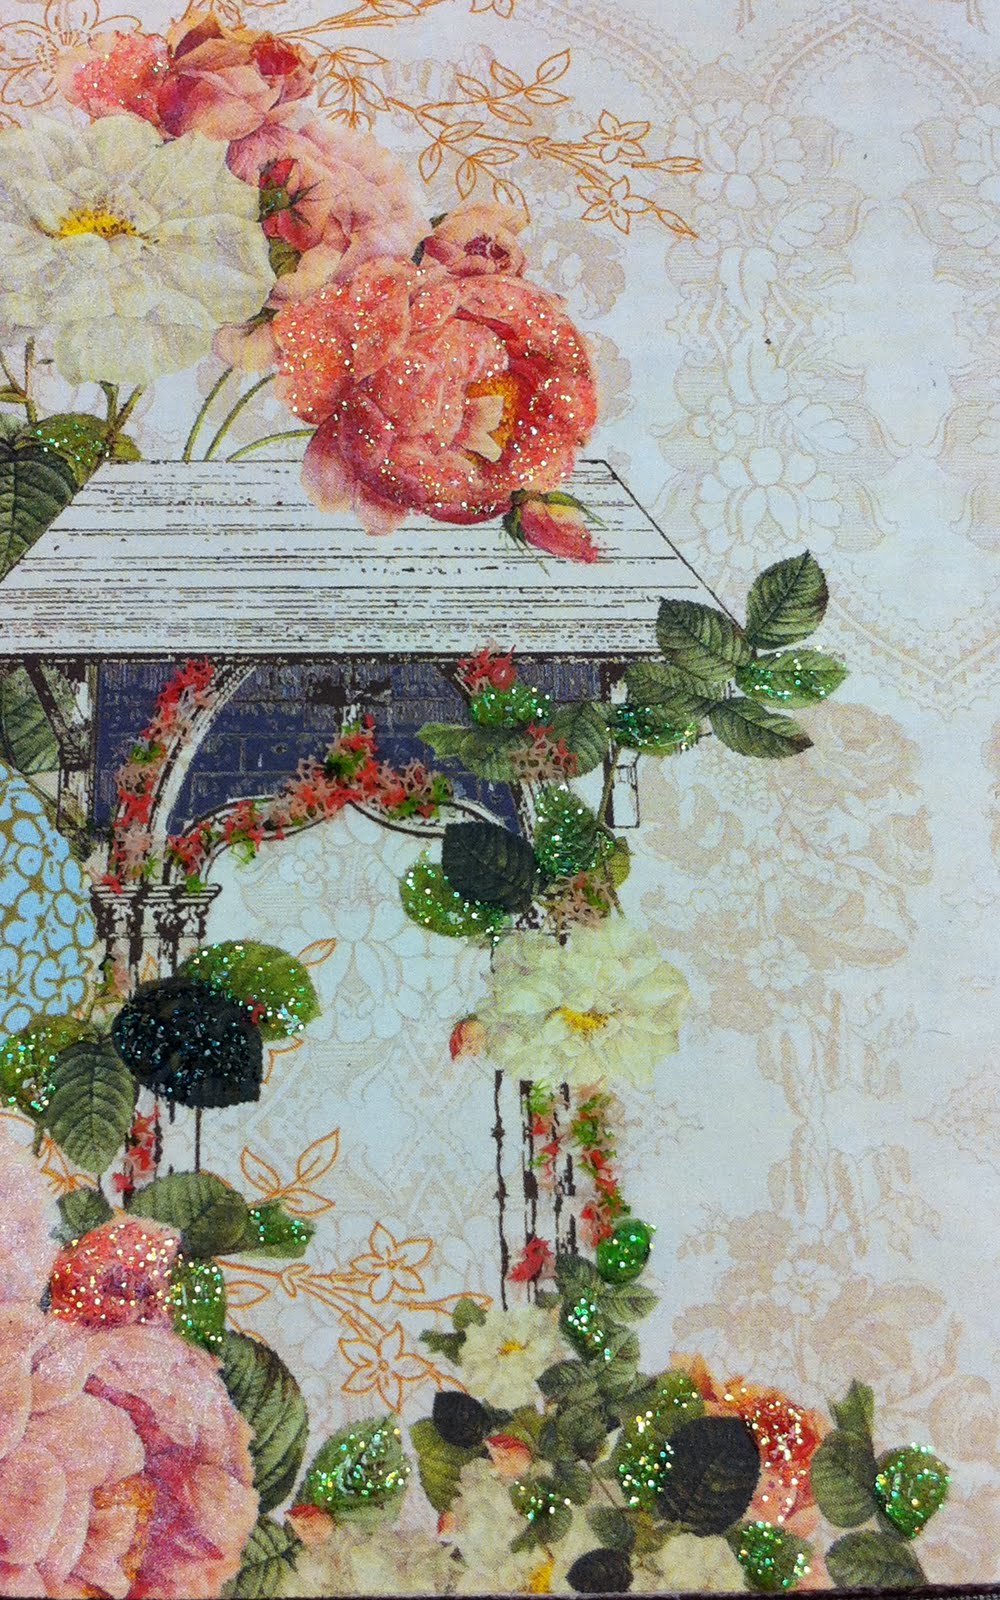
The gazebo was a lot of fun. I enhanced the paper with Perfect Pearls, Stickles, Gold Twinkling H2O, and some Flower Soft.


Here is the finished product. I really like the way it turned out.

Wednesday, February 23, 2011

Blog candy at Jude's page

While making rounds around the WOYWW group I have run across some blog candy I want to share with everyone. I will link them on the side bar and you can go peruse them at will.
The first is Jude's at Crafts-International. If you are a Tim Holtz fan this is a good giveaway!

WOYWW #90

Wednesday again! Everyone is converging on Stamping Ground and Julia's WOYWW. I have become so addicted that the thought that I almost let it slip by gives me heart palpitations!! I can't allow a lot of personal issues this week cause me to miss out snooping on all those awesome desks around the world!! I am logged in as #148 WOW! Lots of places to go look and snoop this week! Probably will take me till Sunday to get through them all but hey! no problemo! DH is away starting tomorrow for a lecture he is giving in Mobile, Alabama so I will just snoop till my hearts content.

For my friendly snoops I thought I would add I went to the doctor on Friday of last week for a visit to find out why I am having so many problems with pain, balance, and memory. I like to joke it is my advanced age but I am only 58 so I doubt it is that!! I had a lot of lab drawn on Friday (nothing notable showed up!) and MRI today! I probably won't know anything about it until next week.

Anyway back to the WOYWW! Everyone probably remembers my post of my craft room last week! Are you over the trauma yet! (I warned you that only the strong should continue!) Well this is what it looks like this week. (A little better but still not for those of weak constitutions!) I am pleased that you can now see the floor and the pile is actually decreasing in girth and height. I am starting to see light at the end of the tunnel but I have also made a decision that the 10x11 foot room is too small for all my stash, furniture, etc and I am going to take of the next bedroom and turn it into my craft room later this summer!

Now on to my desk! All you Timophiles are going to be pleased with the stash on my desk this week! I received my CHA stamps from Stampers-Anon this week. I LOVE them! On the left are some Hampton Arts Graphic 45 stamps! I went to the scrapbook store on Tuesday and the owner made my day by leading me to the display of new Stickles, Stains, and Pearls put out by Ranger! All are must haves of course! I finally put together the craft cube my daughter gave me for Christmas (sitting on coffee table on right in the room picture) and I am going to use it to store all my Tim Holtz/Ranger products. I may have to get a second one to hold all the Idea-ology things when I move into the new room!

I thought you would like a sneak preview of something I am currently working on! I will post a completed project picture next week! This is made using a page out of an 8x8 paper pack of Webster papers, new Stickles, Flower Soft, Glossy Accents, and Perfect Pearls!
Okay this is my post for this week. Hope you have a good week!

Wednesday, February 16, 2011

WOYWW #89

Wednesday again!! OMG! It seems the world has gone into overdrive this week and everything has flown by in overdrive. If you want to know what the WOYWW is all above visit Julia Dunnit at Stampin Ground. My picture of my desk isn't a desk this week. I decided to pick up and straighten up my craft room which turned out to be a nightmare! Here is what it looks like today! I can hardly move around cause I have cleaned out a closet and piled it in here. This isn't as bad as it looks cause it is all sitting on a futon, coffee table, and end table and piled high!! OMG! I dread going in there to finish up! I couldn't find something and that is what started all this 'straightening' that is in progress. I will get an after picture and post it next week! Hopefully!

The class I taught doing the Tim Holtzish tags turned out to be a hit. I thought I was going to only have 8 students but turned out to be 12 and everyone seemed to have a great time!

Now some family stuff! My sister and I spent the weekend at my brothers new house at Possum Kingdom Lake near Graham, Texas. They have a brand new grandbaby and we had to travel south to met her and see the new house. This a a picture from the front porch of the new house at sunset. I think I could get used to sitting here after supper each night! Beverly, Joel, and Evelyn live in San Antonio, TX and had to travel north about the same distance Carol and I had to travel south so it was a good meeting place.

Melvin and Brenda, my brother and sister-in-law, have two daughters and one son. This is their first grandchild and they are so happy with the prospect of more in their future.
I made it around to every one's blog last week and hopefully I will this week. It is awesome to see every ones desk and what they are up to.

Saturday, February 12, 2011

A layout for March

I don't scrapbook much and people who know me are surprised that I am doing it. I have decided that it is fun but I really enjoy making my cards, tags, and altering stuff. Unfortunately the glaring truth of it is I have a lot of pictures that need to be scrapbooked! I have some that are printed and in a dark box in the closet from years ago and then I have thousands (literally!) that are digital and I bought a digital scrapbook program called My Digital Studio (MDS) from Stampin Up! that I am going to learn to operate eventually. It is really an easy program to use but I am very challenged when it comes to computer stuff but until then...

I've decided that I am going to do a layout every month of something that pertains to that month. I haven't done one for January yet because I just decided to do it while working on a design for a February class. While working on the pages I thought what a good idea it would be to do a layout a month (which isn't a big challenge even for a challenged scrapbooker like me!) I love the different seasons and I thought it would be a challenge to make me step out of the box and do something different. Soon I will go back and make up a page for January...I promise. To see the February layout just click here on Valentine/February and it will take you there.

Leslie has an Accucut at WLS so I cut the tree mats out and cut them around to make my clouds! They are distressed with I think Not Quite Navy. The green and white paper is a Christmas paper that I found in the bin and used her Accucut Vintage mat die to make the center mat. Click on it...doesn't look like a holiday paper...looks like a Celtic paper pattern! I decided to give people the choice of using a Celtic poem in the right big cloud, use it as a journaling space, or just leave it a white fluffy cloud. Their choice!


The rainbow is cut using the Cricut cartridge Hello Kitty. I altered it (of course) by adding two more stripes of color cause the cartridge only cuts two colors. I cut all four colors out then trimmed them to fit the rainbow mat. I used some distress stickles to give it just a little sparkle.


The pot of gold is from a different cartridge but I can't remember the name of it. I looked at Cricuts site but couldn't find it so it must be retired. I cut one from black and one from white used the Gold Twinkling H2O on the white coins, cut them off and glued them to the black pot. Just needed a little shimmer.


Materials used:

Stampin' Up! Inks: Basic Black, Not Quite Navy, Always Artichoke
Bazzil basics cardstock: Spring Willow Dark
Blush Red Medium
Sunflower Medium
Yellow Green
Nautical Blue Dark
White
Print Paper
Tim Holtz Stamps
Rock Candy Distress Stickles
Cricut Cartridges
Accucut and dies
Twine