Monday, January 24, 2011

Another box...oh my!

I had so much fun making the birthday card/box for Heather I decided to try my hand making another one. This one is essentially the same but I changed the platform from 5.5x5.5" to 6x6" and I don't think I like it as well. I used a textured card stock and I don't think it was as heavy a weight at the brown on the first box (or the change in the size of the platform had an influence on it) and when I glued the sides on it tended to 'warp' a little but it still looks okay. What do you think?

I love the easel card on the side view. It is so pretty and sets the box/box off.


I took several up close of the picture and the sentiment together but couldn't get them to look the way I wanted to so I divided them up to conquer the issue!! I love this stamp set from Stampin Up! It is retired from 1999 and one of the first I bought from someone getting out of stamping a couple years ago. I am a stamp hoarder! If I love them I am keeping them! Currently I have 200-300 stamp sets and I keep thinking I should weed them out but how do you get rid of a much loved child?


How about this sentiment! I thought that the Bella Rose paper, the tea pot image and this sentiment were just about perfect on this card!


Materials: Stampin Up! except where listed
Stamp sets: Gentle Thoughts (1999 retired) and Favorite Thoughts
Bella Rose designer paper (retired)
Ridinghood Red textured card stock
Kiwi Kiss textured card stock (retired)
Whisper White card stock
Inks: Kiwi Kiss, Chocolate Chip, Basic Black
Ribbon: Kiwi Kiss/Very Vanilla two sided(retired)
Match Box die
Big Shot
Punches: 1/2" circle, corner rounder
Embellies: Fleurettes crocheted flowers, Glimmer brads, Pearl brads from stash.
Crystal Effects
Distress Stickles Worn Lipstick

I can already hear the complaints from some friends about the (retired) Stampin Up! stuff and not being able to get it now but I am fulfilling a resolution I made to use up some of my stuff!

Saturday, January 22, 2011

Boxes! Interesting concept! Challenge #3 at Joans Garden

I have been busy this week working on a birthday gift/card for my daughter and some decorative boxes. Last year or a couple years ago I started seeing these boxes around the web and thought how neat it would be to make one. Most all I have seen have been made with boxes bigger then the matchboxes that I used to make this box. I was reading a post by Joan when I read the blog post about a challenge at Joans Garden (Joans Garden is where I shop to pick up Graphic 45, Tim Holtz, Penny Black Stamps and just about anything I need to make cards, tags, or scrap book layouts.)I decided that the box/card actually meets all the criteria Joan has for this weeks challenge. The rules are simple, anything goes, except that your submission must be or have the following!

1.Make a box...any kind of box will work...even an alter box(how about a box for your tags)
2. a flourish
3. a butterfly
4. Make a flower (alright...if you can't make one use one you have purchased)

Hmmmm....two birds with one stone! Am I efficient or what. Here is what I came up with.

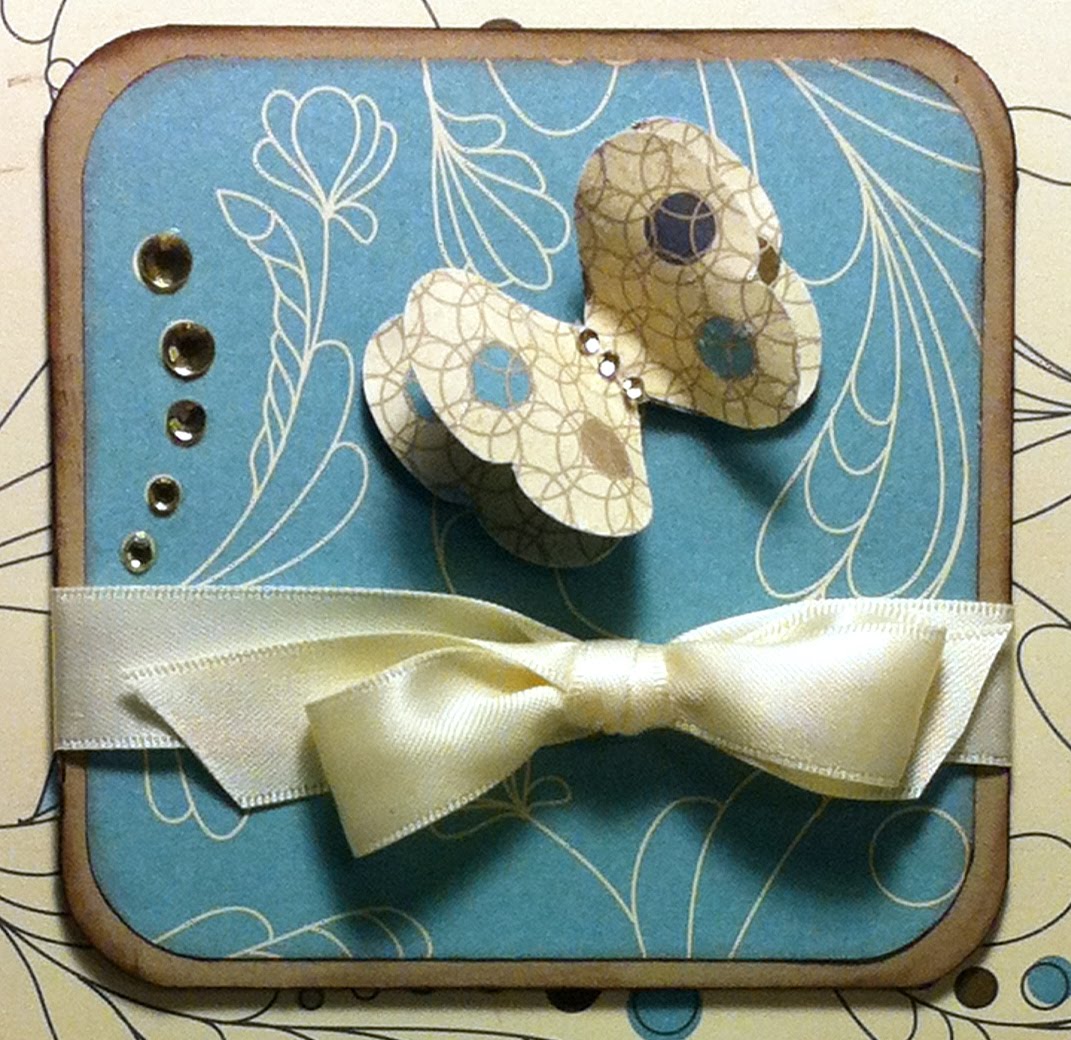
Because I am trying to use up all the products I have stashed I decided to make this box primarily from Stampin' Up! products. The designer paper is Elegant Soiree, the card stock is Crumb Cake and Very Vanilla. I used the MatchBox die to cut out 8 matchboxes on the Big Shot. They are glued to a 5 1/2 in square base of Crumb Cake.
The easel card on top of the box is 5x5 in. The drawer pulls are SU! glimmer brads, the frames are 1/2" circles, the Fleurettes II crochet flower is dyed with SU! Baja Breeze reinker. The flower button in the center is from the designer buttons in Crumb Cake. The edges are distressed in Chocolate Chip.


I cut the butterfly out with the SU! punch then used Rock Candy Distress Stickles on them. The Ribbon is 5/8" Very Vanilla Satin.


The bling is from my stash but not SU! I think it maybe Prima. The sentiment is from SU! Happy Harmony stamp set.

Wednesday, January 19, 2011

WOYWW #85

Oh my gosh where has the week gone! I had such a good time with the WOYWW last week hosted by Julia Dunnit at Stamping Ground that I decided that I had to give it a go again this week. Actually I have to confess I think that I am already addicted!

I just finished straightening by desk after doing a couple projects and was putting the Big Shot away when I got an 'itch' to make a 'box' using the matchbox die from Stampin' Up! I have seen several examples on the net recently using the matchboxes to make cards, calenders, and all sorts of fun things so I decided maybe I would try my hand at it. I will have post the finished project later this week on my blog.

Well it is just at 0500 here in Oklahoma, USA and I have spent way too much time in my craft room tonight. I will start looking at the blogs when I get up later. If I started now I would never make it to bed tonight! I am so proud of myself cause I made it to all the blogs last week. It was so much fun scoping out everyone's 'stuff'.

Tuesday, January 18, 2011

2 page layout for Valentine's Sweeties

Today I am doing a 2 page layout class for Valentines sweeties at my local scrap book store Whole Lotta Scrap here in Norman. It is one of the most awesome scrap book stores anywhere. I consider Leslie my other daughter from another mother she is such a very nice person who runs an tight ship and makes it a haven for all that crop there.


This is a fairly simple and straight forward layout but adding stamping and glitter glue to the pages makes it pop. The paper is from the BoBunny Crush line, Bazzil red, black, and white cardstock. Tim Holtz Valentine set Love Struck, BoBunny Crush clear stamps. Stickles Christmas Red and Diamond. Ribbon from the stash. Sizzix heart embossing die cut flower heart and Creative Memories tag punch, Stampin up Corner rounder, Basic Gray, Basic Black, and Real Red ink pads.


Both pages have a 12"x1" frame that runs around the border then the 10"x10" square from each piece is cut up to make mats for the pictures. One 5"x7" on page one and a 4"x6" on page two and there are five 2"x3" matted tags in a pocket on page two to hold more pictures or journaling. Fun!

Step 1: To make the red heart frames around both pages take the 12”x12” designer paper (DP) and cut 1” inside the edge on all four sides. Using glue runner adhere frames to both sheets of white cardstock.

Step 2: Now is the time to stamp the images of hearts and cupids on the white cardstock inside the frames if you desire to do so. I stamped the cupid from Tim Holtz Valentine set “Love Struck” on page 2 and cut out one on page one. I used the BoBunny Crush clear stamp set heart on both sides in red and gray ink. I brought different stamp sets so if you want to use a different stamp feel free to be creative and change things around! I used Christmas red Stickles to make comma hearts inside the inked hearts. Do that last if you are going to use stickles.

Step 3: Make mats for your pictures using the 10”x10” pieces of Crush designer paper. The measurements for the mats are”
on page 1 is the DP is 5 ½”x7 ½”
black mat is 5 ¼” x 7 ¼”
black mat around Valentine sentiment is ¼” wider/longer than you cut out the sentiment. The DP mat is then ¼” wider/longer than the black mat.
page 2: DP is 4 ½”x6 ½”
black is 4 ¼”x6 ¼”
each mat on the tags is 1 3/4"x 2 1/4" out of the DP
Mat on the tag pocket is black 2”x8” and DP is 1 ¾”x7 ¾”
The black mat is ½”x7 ½”
Mat under Love sentiment is cut from black card stock and is dependent on how big you cut that out.

Step 4: Adhere ribbon to mats before sticking them down to your pages. I used
super sticky tape to tape the tag pocket to the page.

Step 5: Use foam pop dots to pop the cupid and red flower heart on page one.

Step 6: tie ribbon to tags and put in pocket. Stick down all pieces as shown above. Adhere Love ticket to front of tag pocket!

I used Distress Stickles on the wings of the cupid to give a little more texture and the Diamond Stickles in the center of each flower on the heart.

Sunday, January 16, 2011

A tag using Tim Holtz Products.

I decided that year I was going to try and follow a few challenges on line. The first challenge was with CPC last week and this week I was going to put a tag in at Joan's Garden but thought the cutoff was at midnight instead of 9pm so didn't get it in on time due to my putting off posting it. Go on over to her site and take a look they are all so beautiful it will be hard to vote on just one!

I have really gotten into the Tim Holtz product line and love the papers and 'finds' that he makes available. This tag is a little larger then the standard #8 tag but lent itself well to the design. The paper is from the Lost and Found paper stack, the ink is vintage photo and walnut stain. The sentiment is from the Going Somewhere Stamp set, philosophy tags, charms,trinket pin are all Tim Holtz. The ribbon is from Close to My Heart.


I love the tooth wash graphic on the paper. I can remember as a child seeing the tall oval cans that had a label similar to this. I put as little Rock Candy Distress Stickles on the writing tag that says Imperial, tooth wash and on the flowers. Doesn't it give it a little 'sparkle.


The sentiment is awesome. I love the sentiments that come with most of the stamp sets. They speak to my heart!


The Rosebud perfume tag was made with a piece of paper scrap that was glued to a charm and then covered with Ranger Ink Glossy Accents. A loop through to charm was placed around the trinket pin and it and philosophy tag was attached to the ribbon.


The flowers and brads are some that were in the stash. Some friends have said that they give it a Christmasy look but I don't think so. I used the red and green to bring out the colors in the paper. I think it worked! Hope you like it!

Friday, January 14, 2011

Chipboard books for a new baby

I made a couple of chipboard books for some friends of ours that I want to share with you but first a story... Years and years ago my husband went to the Mississippi State University to speak one spring and a young man named Brian heard my husband speak and Brian decided he wanted to move to Oklahoma and go to school at the University of Oklahoma so he could study with teachers like my husband. That year Brian got married to April and brought his new bride to live in Oklahoma. Over the years they have become friends and we have watched them and their family grow. This past year Brian and April were blessed with a beautiful baby girl they named Josie.
Josie is such a happy baby girl! I hadn't seen here in a couple months so it came as a surprise that she was now vertical and running everywhere. This is Josie at Halloween this past year and she has the most beautiful eyes and bright red hair!

Now on to the boring stuff!

The first book I made just before she was born to give as a birthing gift. I can't remember the name of the paper manufacturer but I thought it was so cute and so unusual I just had to have it to make a baby book out of.
Here are a couple of views from inside the book and the back! This was such a cute print.


Don't you just love the pink rubber duckies and the pink leopard print? Just perfect
for the little rock star that rocks their world!


Josie was born around Easter last year and since I was making my granddaughter an Easter book I thought I would make one for her also. I don't know why it has taken so long to get it to her but... This paper, chipboard book, stickers,and bling is from a TPC collection in 2009. I used the Stampin Up! bird punch for the birdie on the front of the book and the Yoyo Yellow cardstock distressed with Chocolate Chip ink.

Here are some pictures from inside the book. I wish I better with this blogging etc and could make it look nicer but this will work...


I love the little bling birdie.


This picture doesn't show the shimmer on the flower but it is really shimmery. I used the edge punch and scalloped circle punch with garden green from Stampin Up!


Aren't the colors awesome in this book. Makes me happy just looking at it.


I hate to leave the back of the book blank. The flowers just seemed to fit. It looks like the egg is actually a vase! After putting the flowers down I ran a stream of glue around the bling to keep them on.


I hope you enjoyed my story and the books.

Wednesday, January 12, 2011

Heathers Birthday and CPS card sketch

My baby girl (not such a baby anymore) turned 32 on January 7th this year. We took her out for supper to Olive Garden this year at her request. Heather has decided to try a vegan diet for a couple of weeks and Italian has a lot to offer in choices for that diet. Anyway.......It has been a tradition in our family for years that the birthday person got to pick what we had for supper that night. We could choose to eat in or go out to a favorite spot but for years and years all Heather wanted was for me to make chicken and dumplings for supper! Happy Birthday baby girl!

For her birthday card I had another project in mind but I kept getting side tracked away from and at a last minute I decided to do this card for her rather then telling her it would be forth coming sometime in the future. The other project will eventually be done but this one was quick and easy. The card stock, paper, rub-ons and ribbon on this card (except the card blank) came out of the Quick Quotes scrap basket I have from the kit of the month club I used to belong to. The flower/brad/ribbon twist came from a stash a friend of mine gave me for Christmas.


Up close on the sentiment! I love the vellum quotes that you can purchase from Quick Quotes! Don't you just love it!


The black and white floral prints look so elegant with the wide crochet ribbon!